Generate a Photo
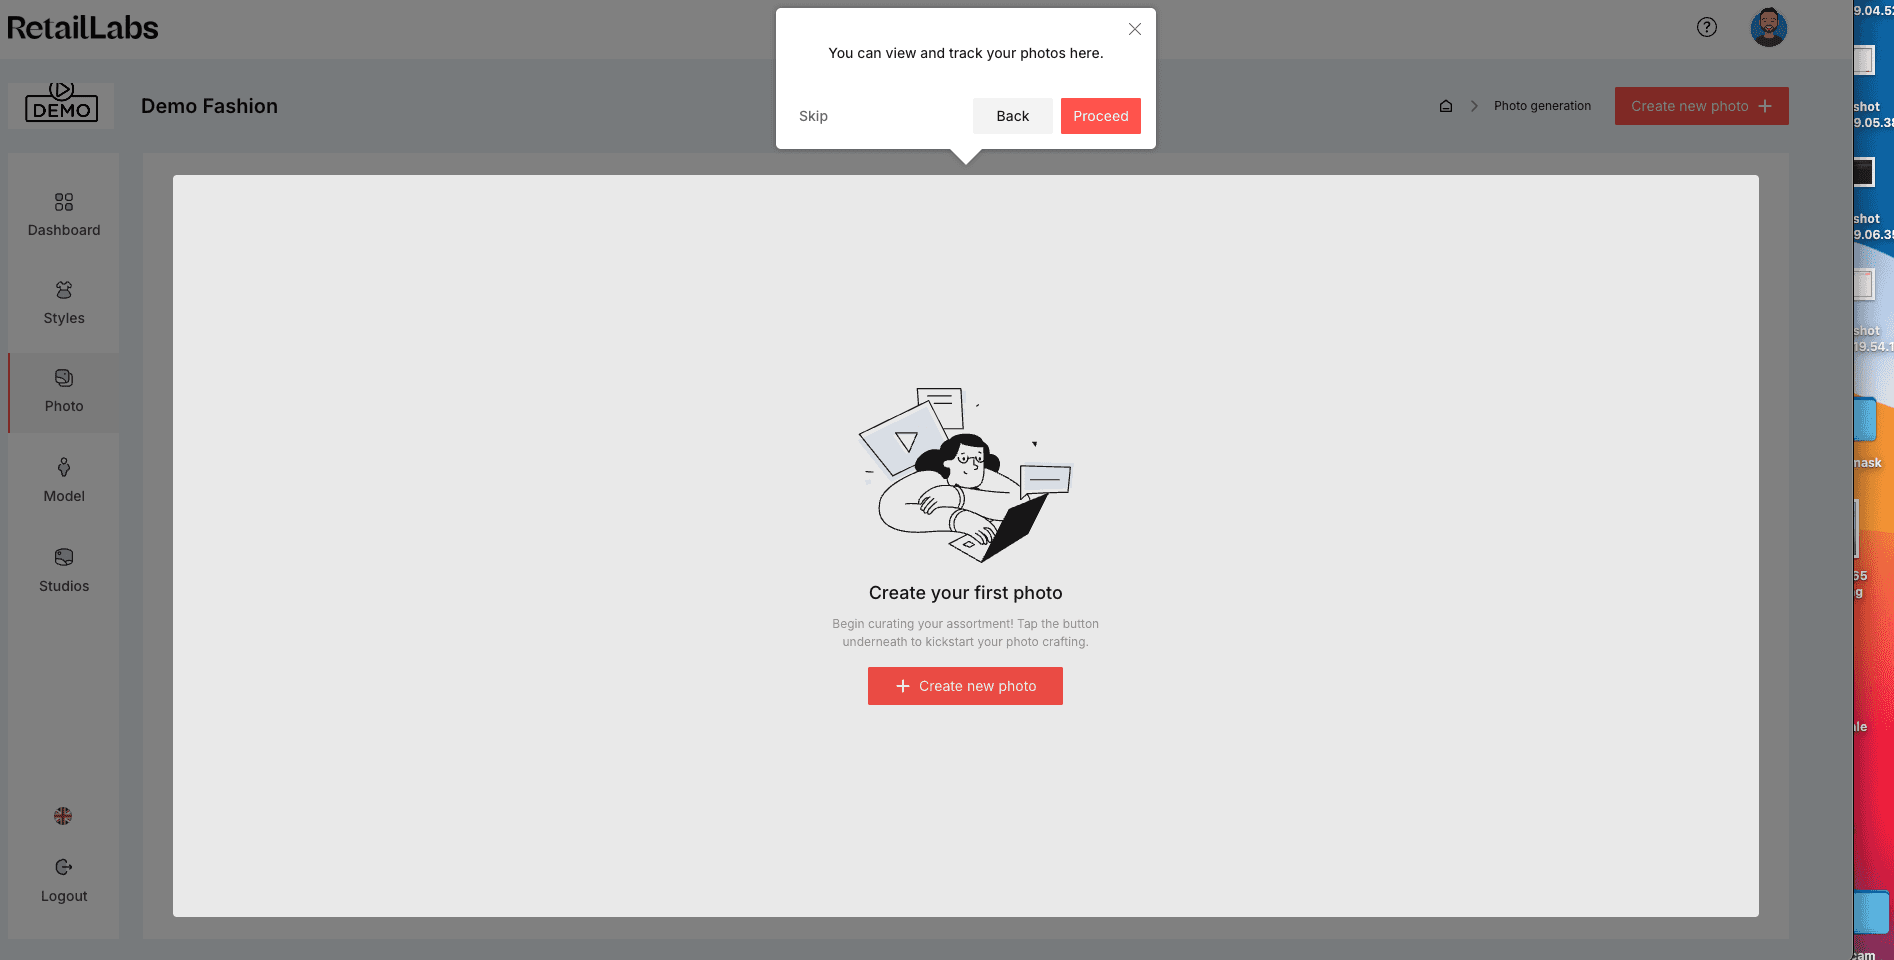
Navigate to the “Photo” section from the left menu. This is where you'll manage and generate your product visuals.
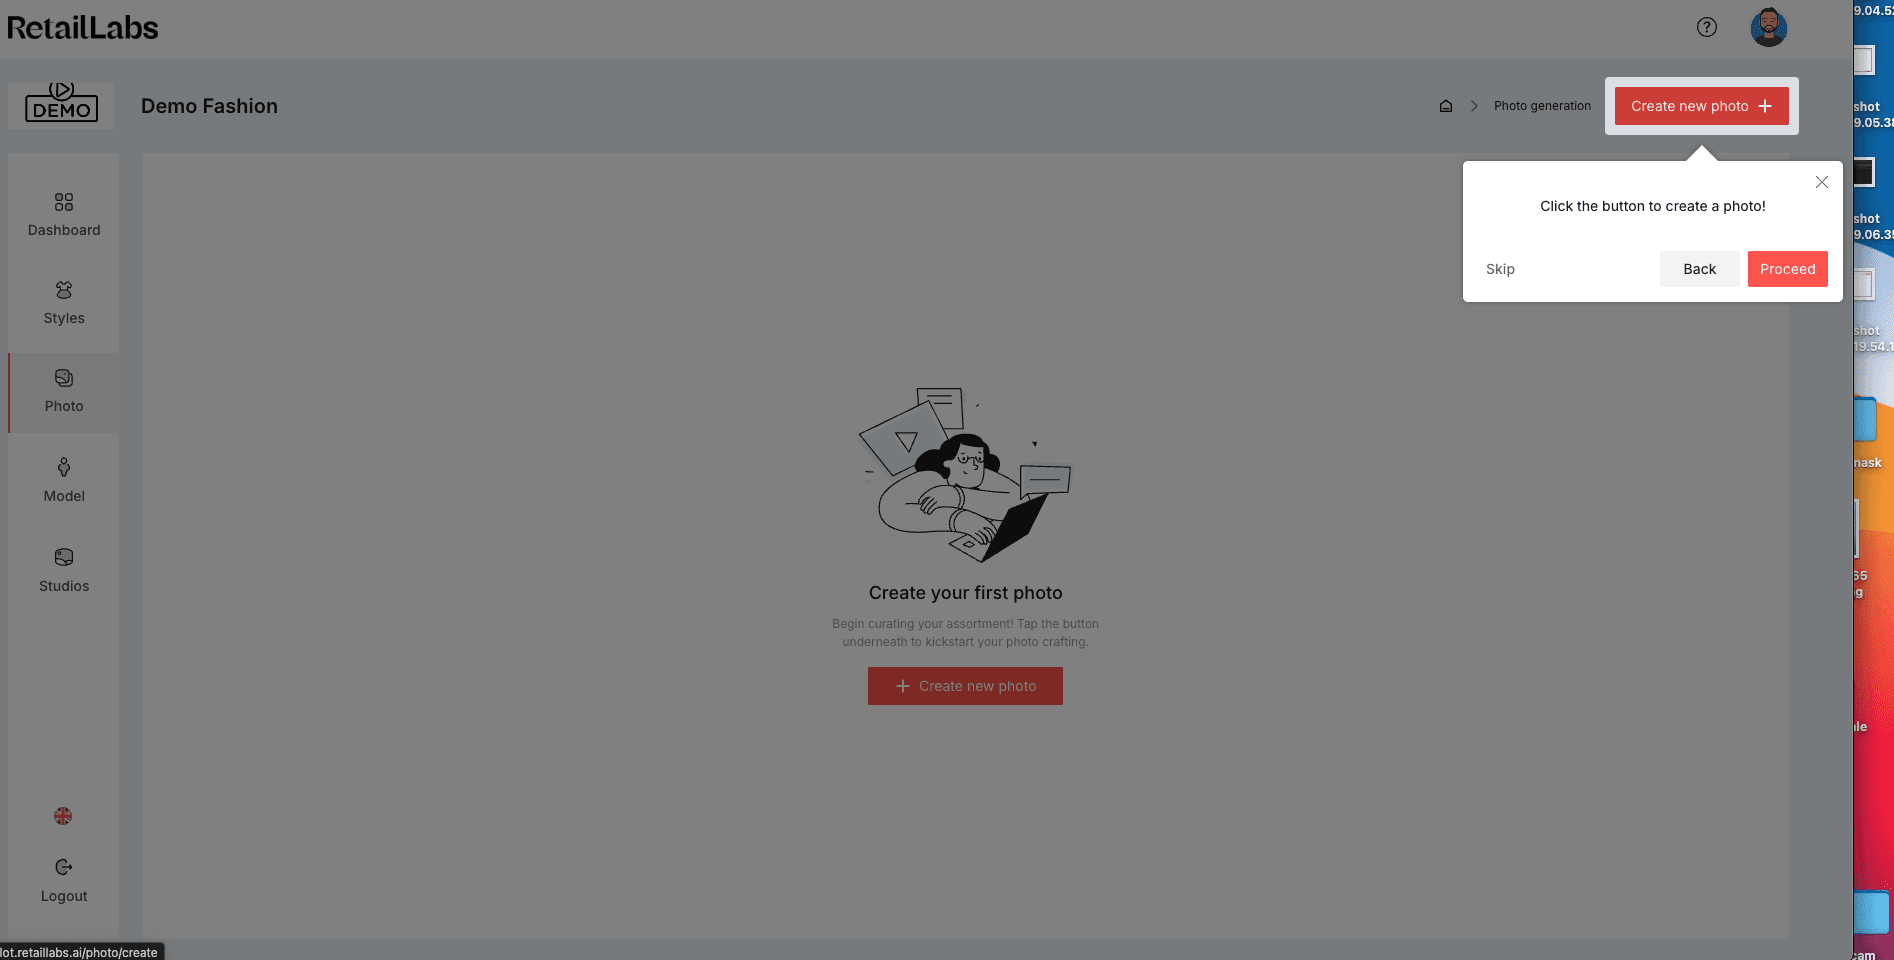
Click the Create new photo button in the top right to begin crafting your first on-model image.
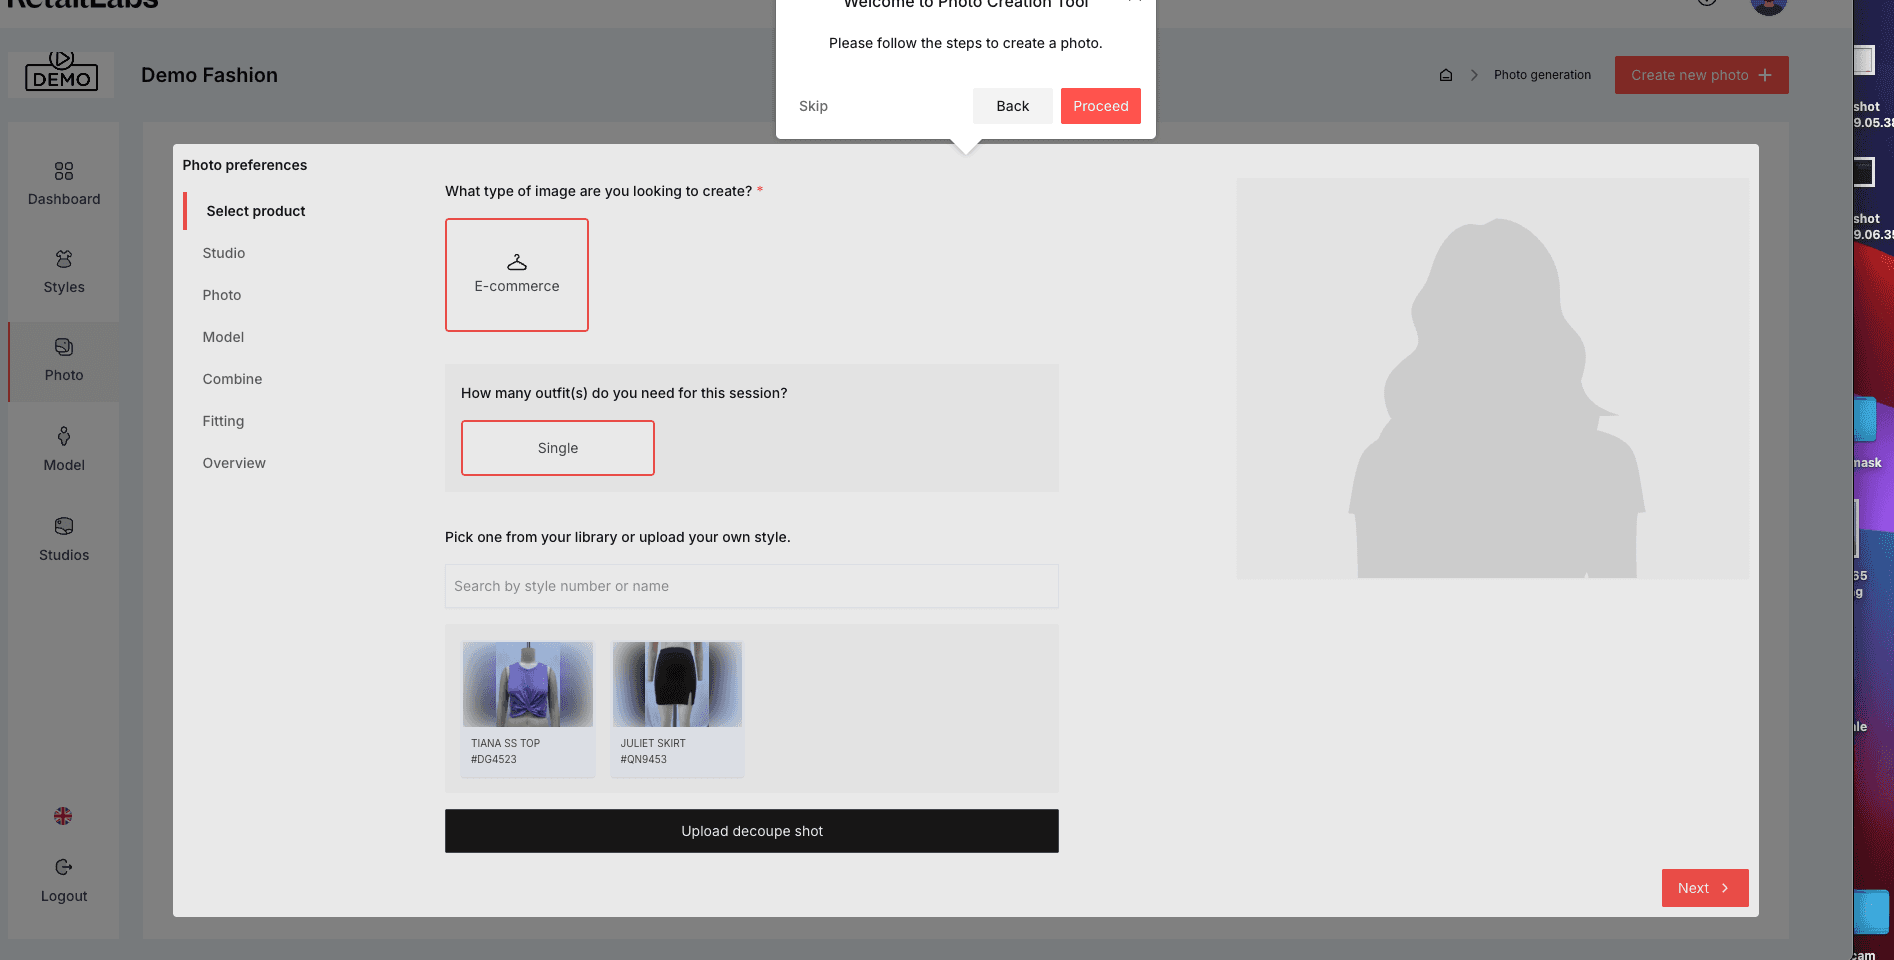
Select the type of image (e.g. e-commerce) and how many outfits you'll be featuring. Then choose a style from your library or upload a new one.

Once selected, a preview will appear on the right side. Confirm this is the item you'd like to use before moving to the next step.

Set your desired photo ratio, choose a background color, and customize the mood by adjusting lighting, floor visuals, and shadow options.

Pick the photo angles you want to capture — like front, close-up, or full look. You can select multiple for more variety.
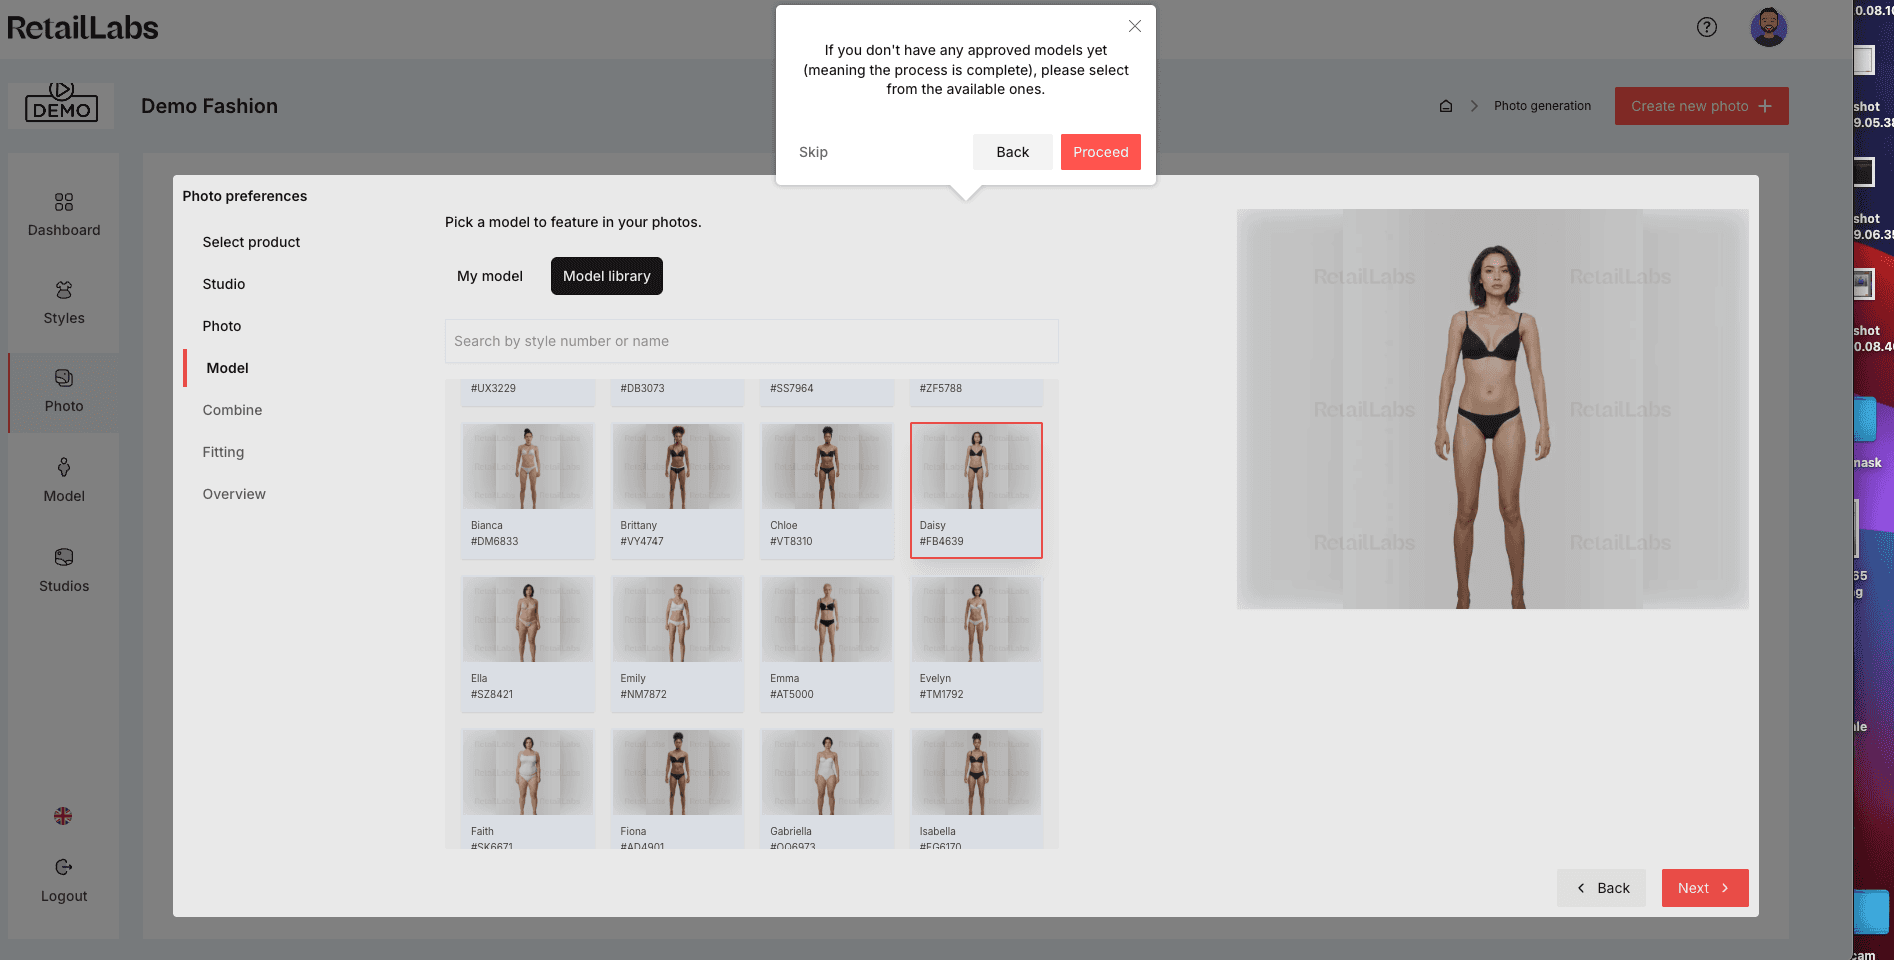
Pick a model from the Retail Labs library. If you haven’t created a custom model yet, use the pre-approved options available.
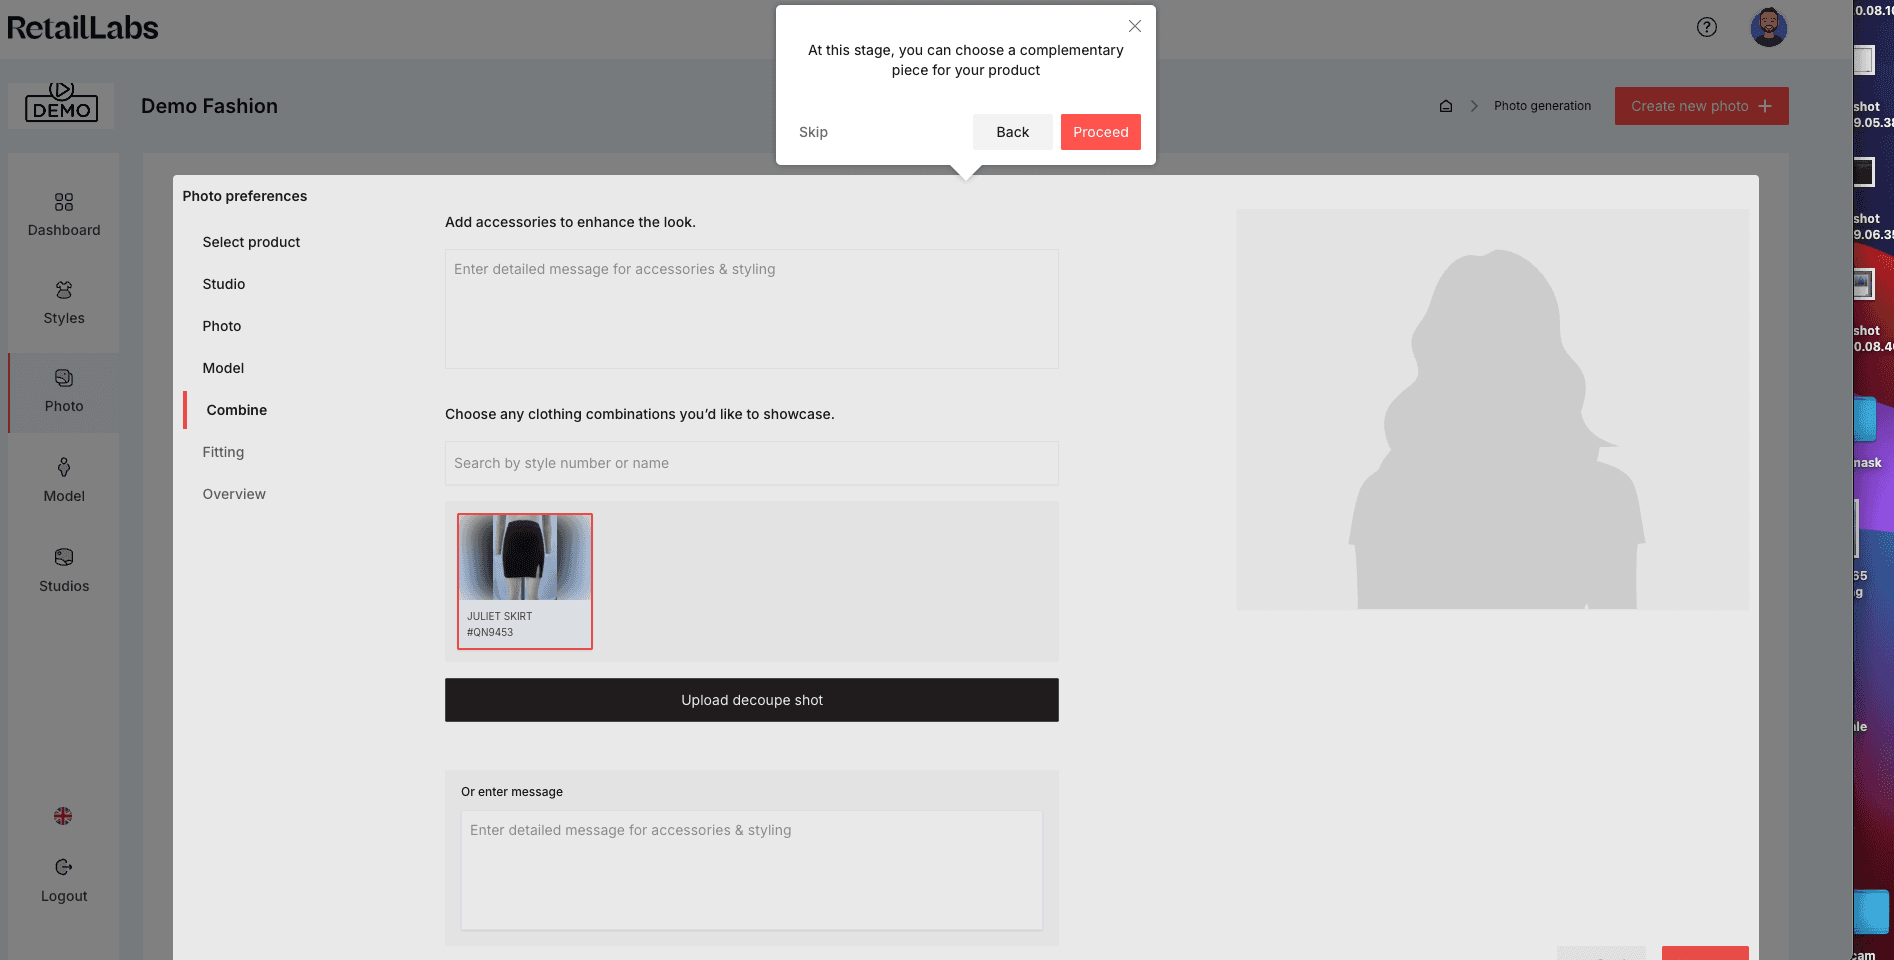
Want to create a look? Add accessories or additional items to pair with your main product. This step is optional.

Choose product length (short, regular, long) and how the garment fits (slim, loose, oversized) for a more accurate visual result.

Review all selections in the summary view. Once satisfied, name your project and click Save to complete setup.